 What I’m Wearing
I have enjoyed decorating and home design since I was a child. My mother will tell you that I was always her little helper for every Holiday to set the table and decorate the house. And every birthday party, I went above and beyond to plan a well thought out theme. I ensured that the theme came alive in the elaborate decorations to ensure the proper ambiance. I remember spending a lot of my own money on these parties just to make sure the mood was just right.
It is no surprise that I would dive in head first into interior design when I owned my very first home. My husband and I purchased our first home this past May, and it has been quite the process! Even in decorating the apartments we have lived in, my approach was always to take my time. I would prefer to have an empty space rather than fill it with an item in which I was not completely obsessed!
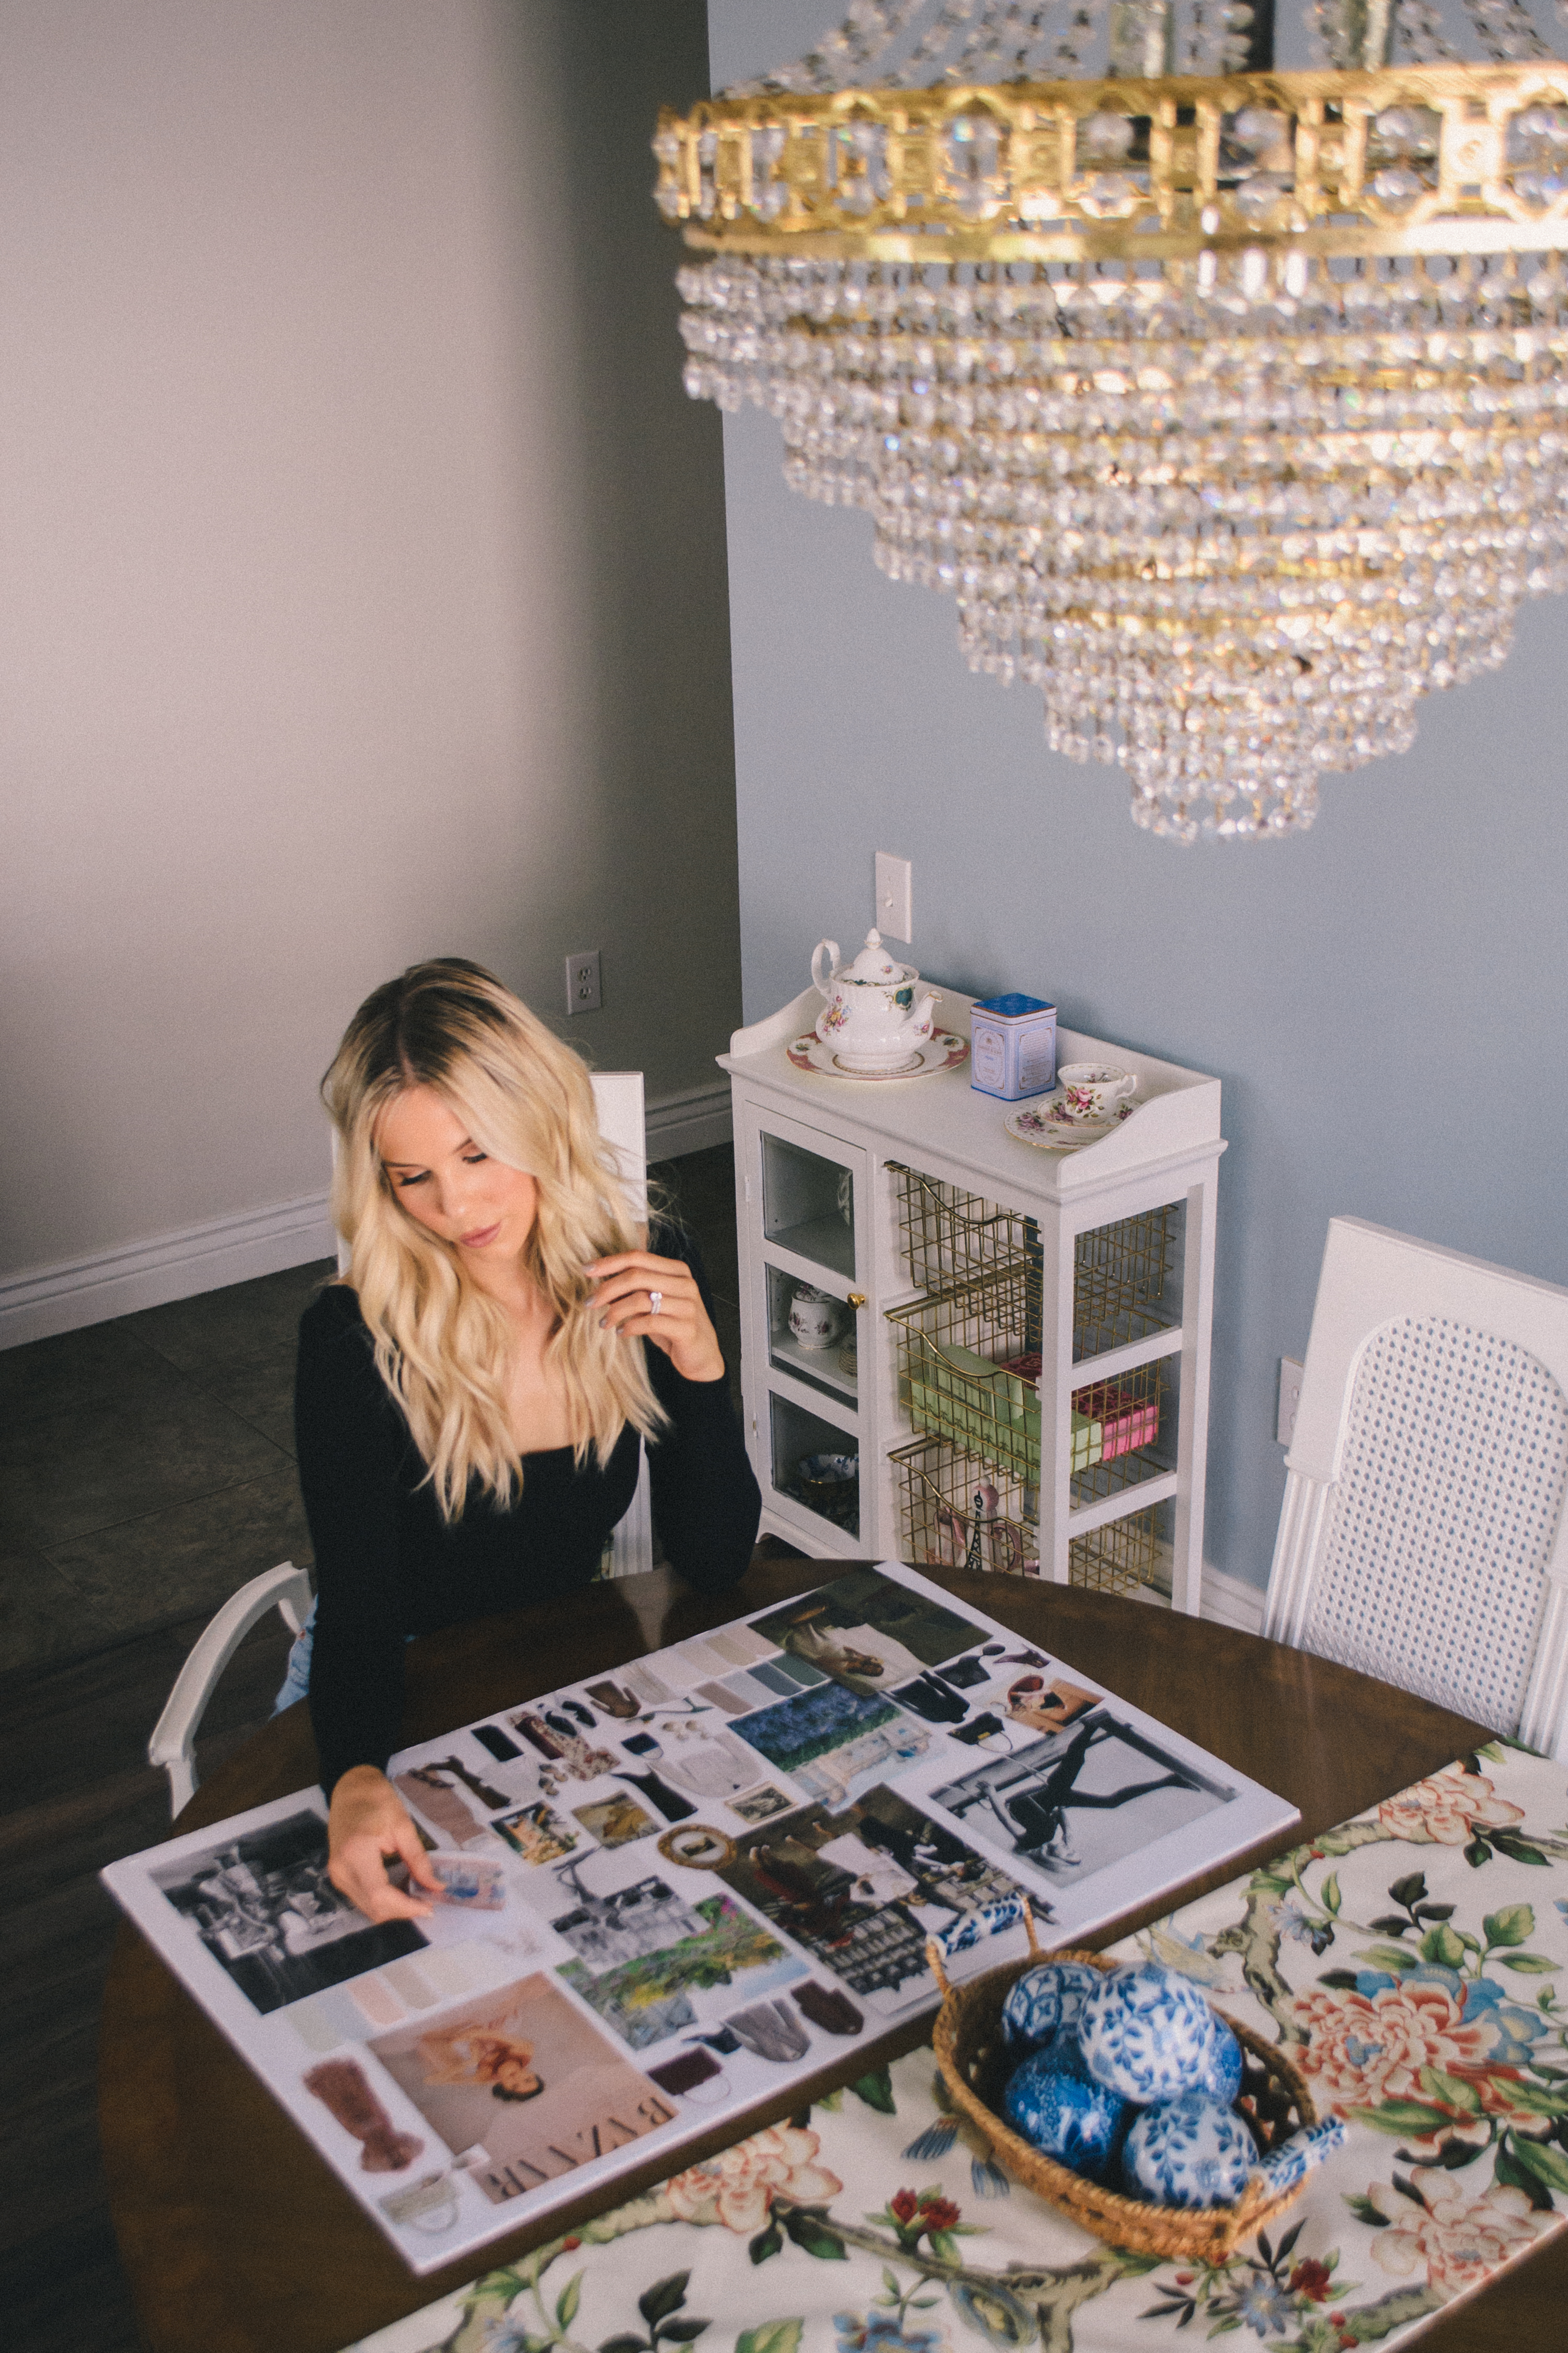
My taste with interior design has changed slightly in the past few years. I believe this is a natural progression, especially as you age. But the overall theme of my taste has not altered much. I enjoy feminine pieces, french interiors, antique finds with a mix of new, and muted tones. I have gotten several requests to begin sharing our home decorating process, and I am finally here to share a project that has taken a lot of blood, sweat, and tears from many members of our family.
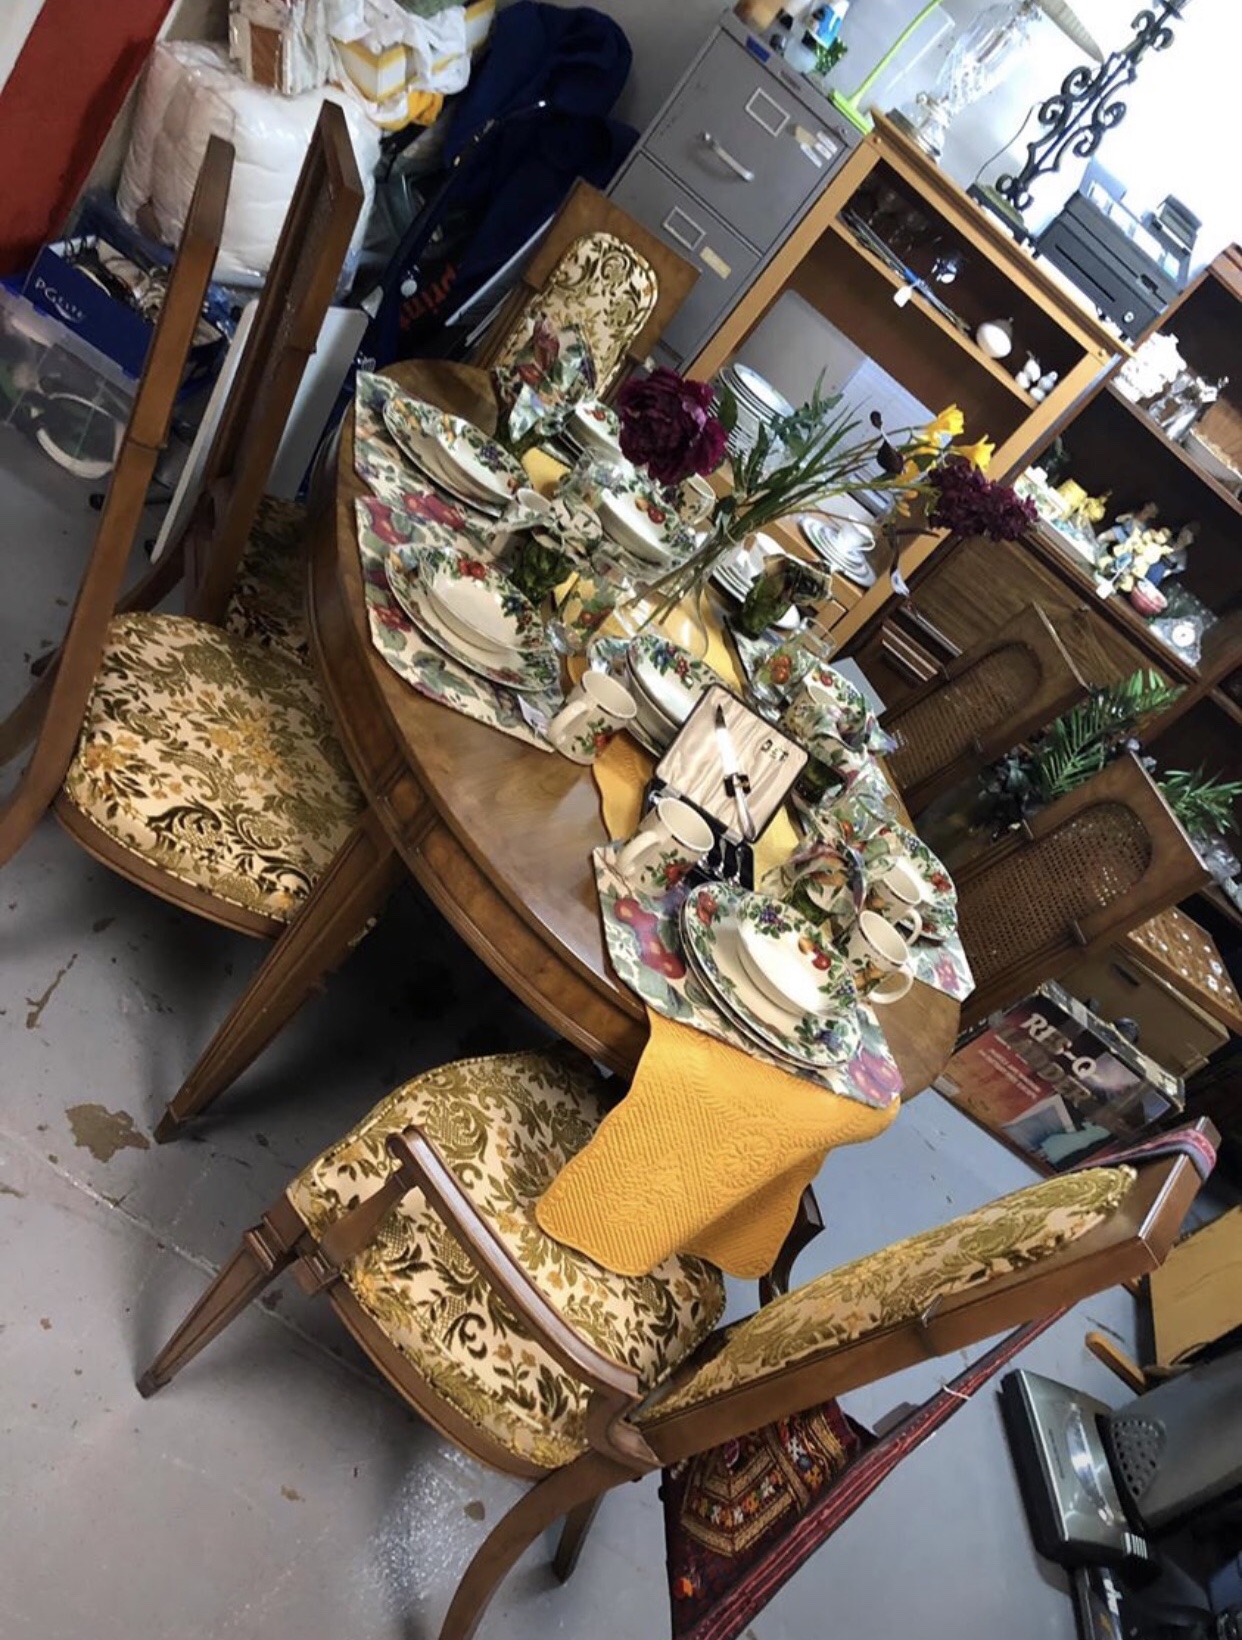
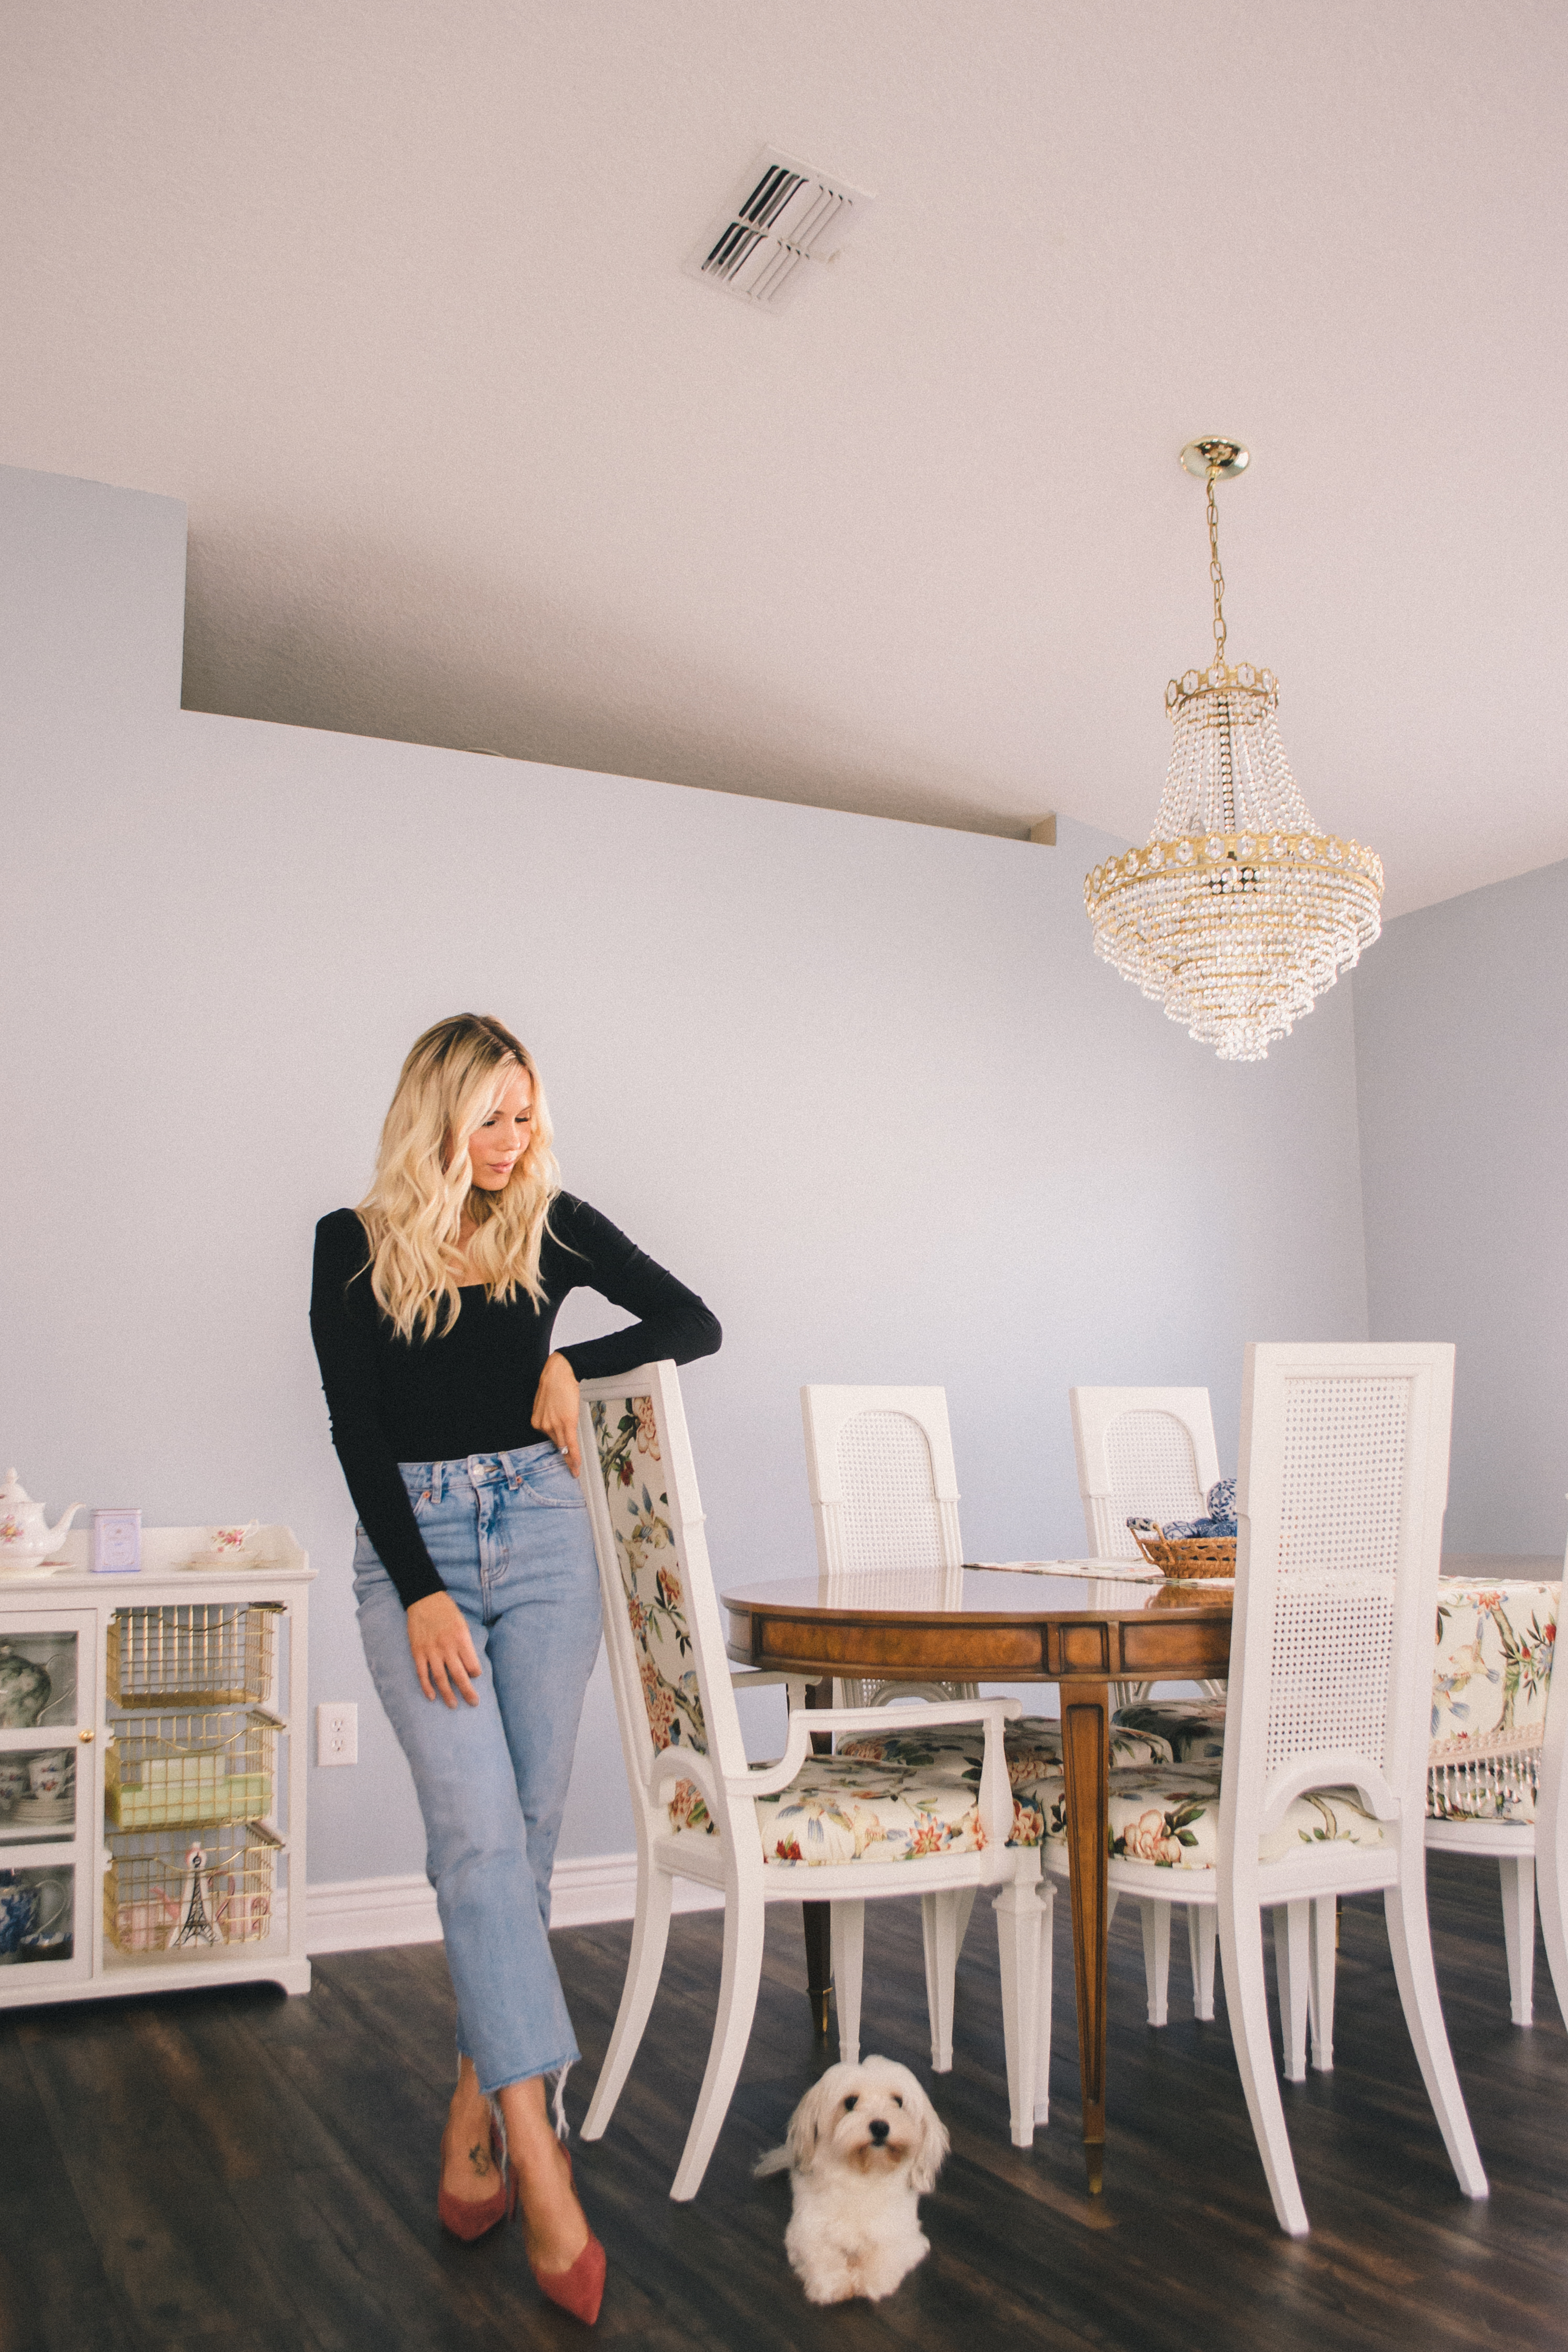
When we moved, I knew I wanted to get rid of our previous dining set and find a unique traditional antique dining room set. I found one rather quickly from a hole in the wall antique store in Plant City, Florida that had recently been acquired from a million dollar home, whose residents had recently passed. I saw the potential in the piece and believed I could make my vision come to life.
BEFORE
AFTER
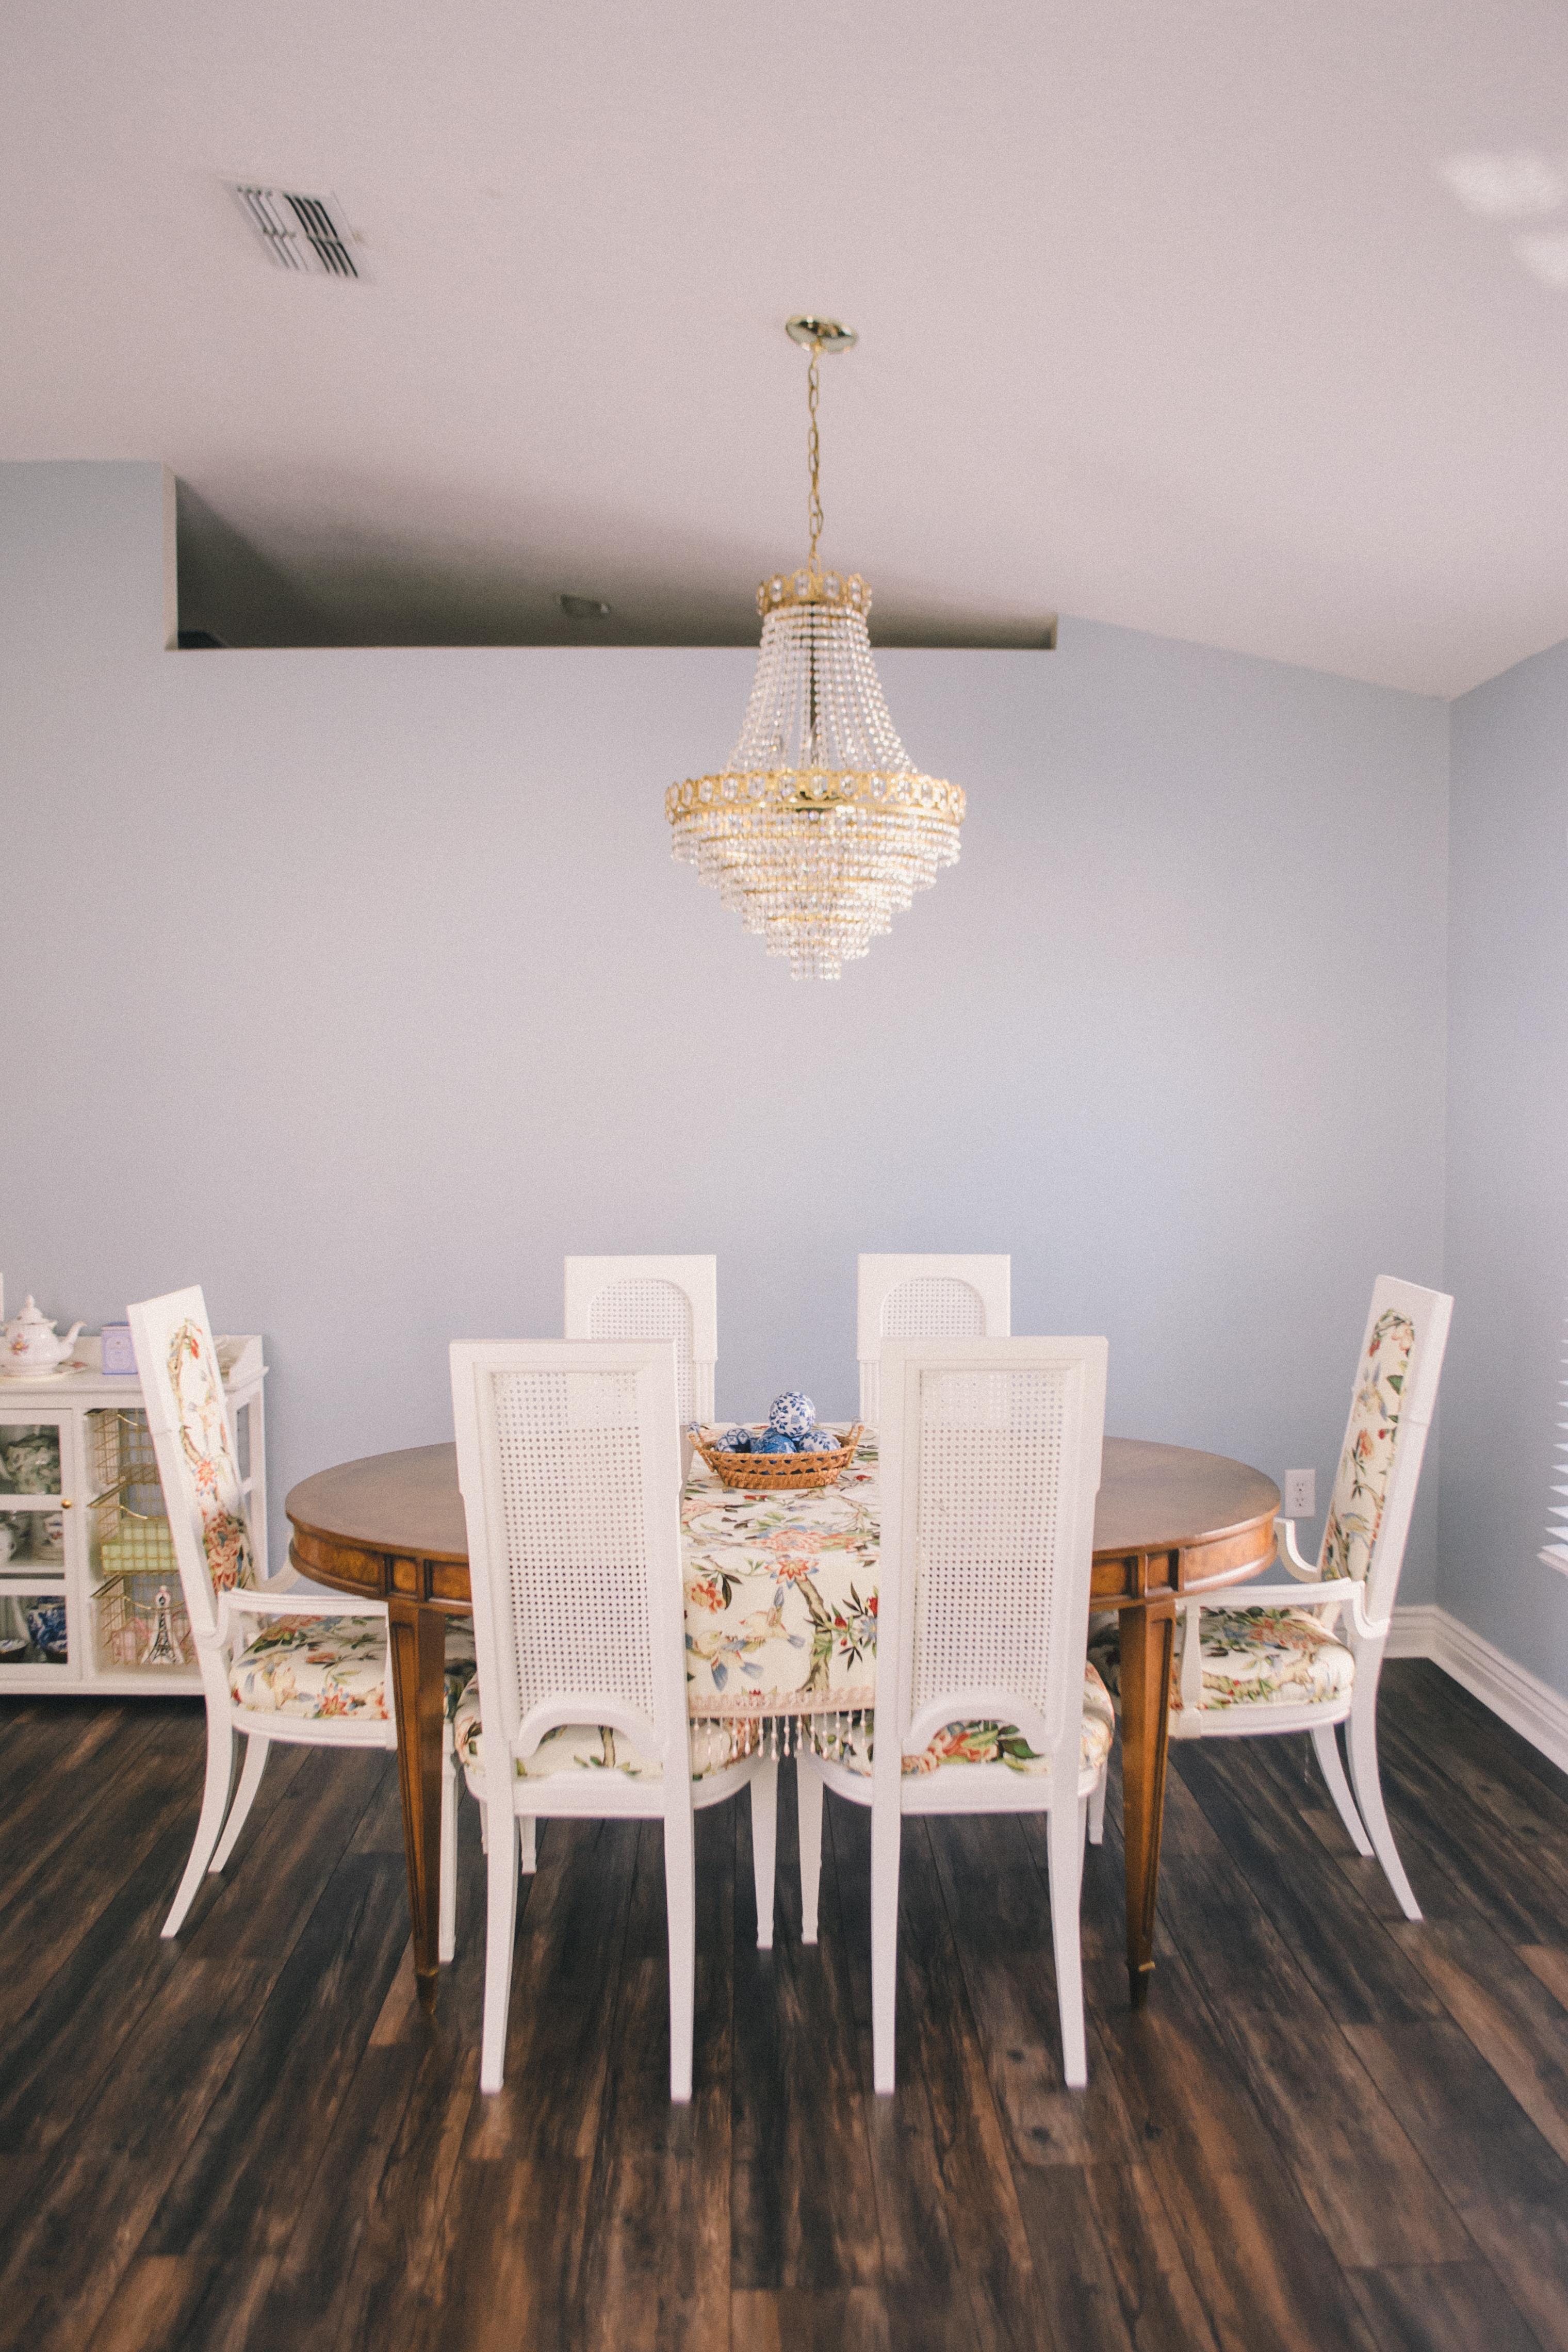
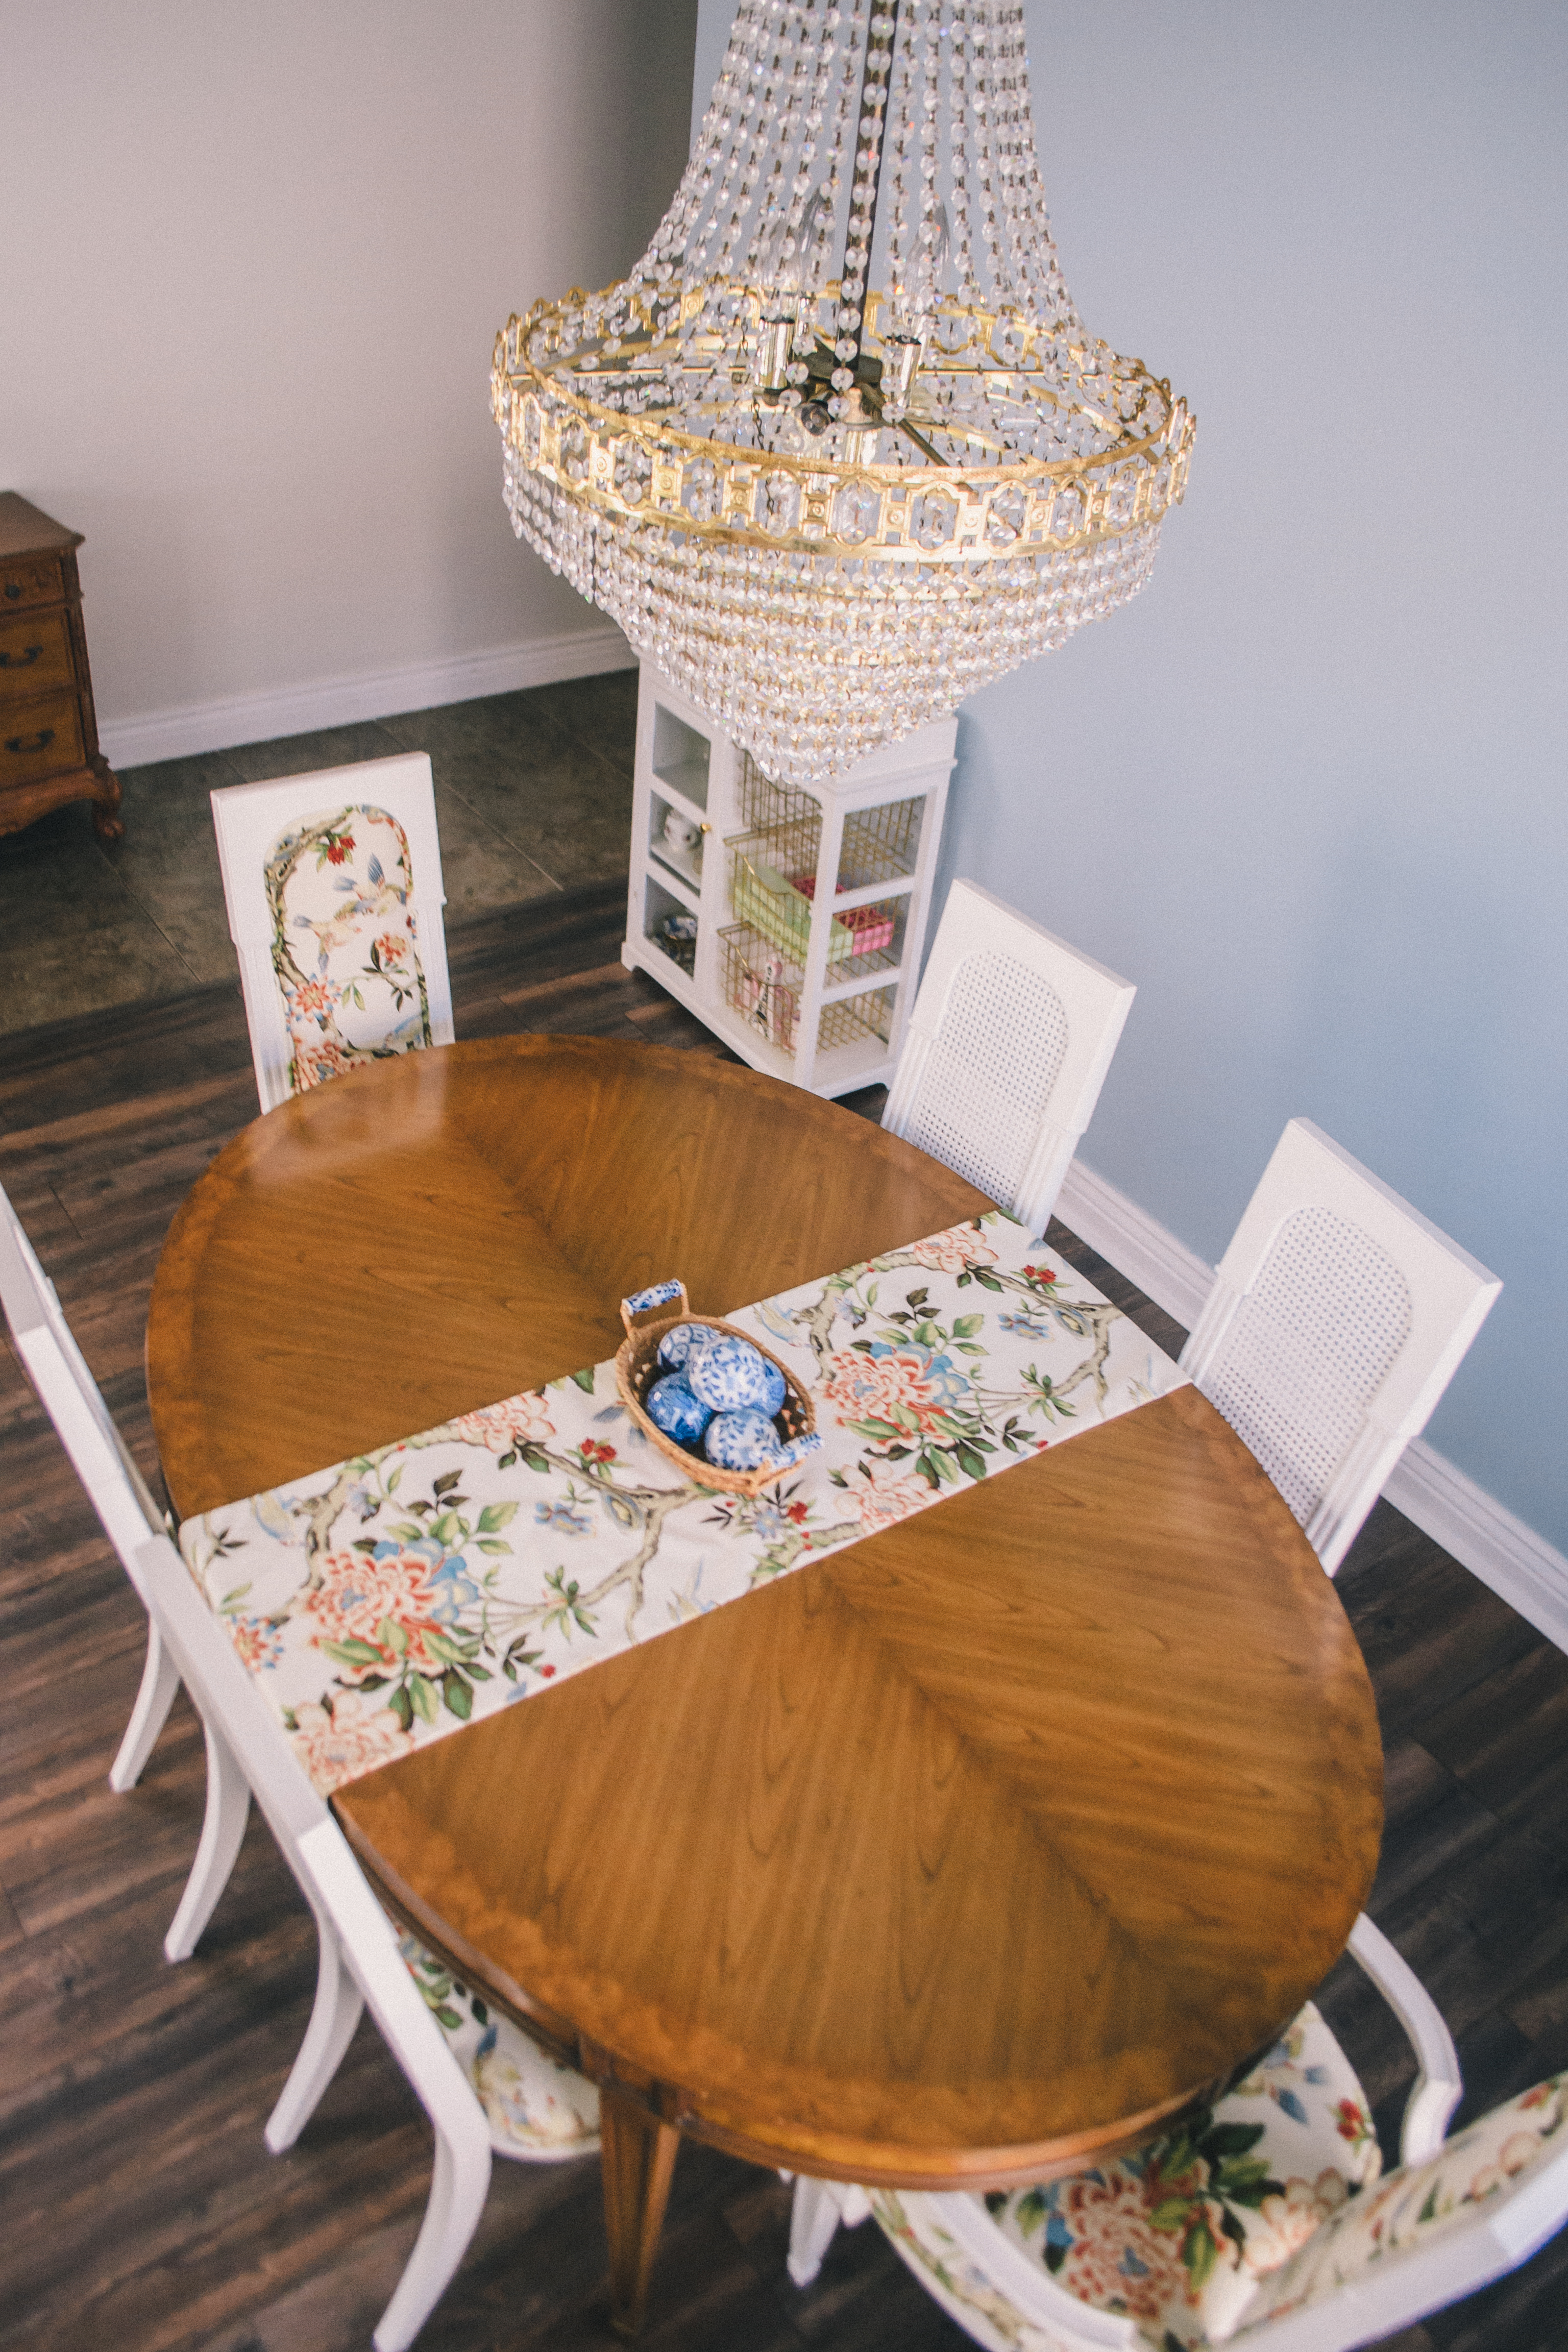
Before and After Process
- Remove cushions and clean the chairs with a grease and grim cutting cleaner. I used 409.
- Sand the chairs with a light sander. Dust off excess.
- Prime with furniture primer. I used INSL-X STIX Warterborne Bonding Primer. Let dry the full recommended amount. I used a combination of furniture rollers and a paint brush for this.
- Sand again, dusting off excess. Apply a second coat of the primer. Let dry the full amount. Priming the chairs is what took the longest because you have to do it by hand since the paint is too thick for a paint sprayer.
- Sand. Dust off excess. Paint the first coat of furniture paint. The color I used was Benjamin Moore White Dove in the Advance formula (meant specifically for painting furniture) in the satin finish. *I used a paint sprayer for this. You can use a roller and paint brush. The paint sprayer was a lot faster and created an even coat.
- Sand. Dust off excess. Apply a second coat. I applied a third coat on some areas of a few of the chairs. But that is up to you.
- Reupholster chairs. The fabric that I chose was Mudan Persimmon Floral Print Fabric. I ordered 6 yards, but we ended up having excess fabric. We could have gotten away with 5. My mother in law ended up making a table runner with the excess fabric. But I purchased it from Michaels with a coupon. It is currently sold out, but still available from several other websites. Now this is the part that I owe entirely to my mother in-law. She was able to upholster all of the chairs and even do the piping. If you are interested in learning how to do this, I can ask if she would be interested in writing “how to” a post for you!
- Rescrew the cushions into the painted chairs. And you are done!
This process actually ended up taking us over a month. We did travel during some of the process, and my husband and I were working full time jobs during this as well. It also took some time for my mother in-law to reupholster the cushions. So if you are going to tackle a project like this, just allow yourself some time and grace to get it done. But in the end the whole project cost less than purchasing a new dining room set, and we are so happy with how it turned out!
Thanks so much for reading today’s post. I hope you enjoyed this before and after!
